
Sanctuary is an unforgiving place. The world of Diablo III teems with monsters large and small, and any one of them are capable of sapping that last bit of life out of your health bar if you’re careless. Survival is tough, and the odds are generally stacked against you. You’re going to die one way or another, probably on a frequent basis, but we can help you make the most out of each precious health refill before some baddie gets in the unfortunate swipe that ends your existence yet again. Read on for some survival tips that will help you get accustomed to the new face of Diablo III on PlayStation 3 and Xbox 360 consoles (though much of this applies on the PC as well).
Note that any of the several dedicated Diablo III wikis are your very best resources for detailed information on the game (here’s one). This feature is more of a primer, a tips guide that runs through some of the top-level rules that a brand new player might not be aware of.
Twin stick power plays
The console version of Diablo III features a reconfigured control scheme that supports modern-day gamepads. All four face buttons, along with three of the four shoulder buttons, are mapped to powers. The remaining shoulder button, LB/L1, is dedicated to health potions. You move around and target enemies with the left stick (more on that in a moment), and you use the console-exclusive dodge feature with the right stick.The console release doesn’t offer the level of targeting precision that you get on PC with a mouse and keyboard, but Blizzard came up with a strong auto-targeting mechanism to make up for that. Simply hold down the button relating to the power you’d like to use and push the left stick in the direction of the enemy, or enemy horde, you want to attack. A red outline highlights the individual enemy being targeted. The thing about Diablo III is that most of your fights leave you outnumbered; targeting might not be as accurate as it is on PC, but that doesn’t really matter. You’re rarely singling out a specific enemy, and even when you are – as is often the case in boss fights – your target is usually large enough to allow for easy targeting.

Blizzard wisely carried over “Elective Mode” from the PC version of Diablo III. Once you turn it on in the gameplay options menu, you’re able to assign any unlocked ability to any button that you like. By default, all of a character’s unlockable skills are divided into separate categories and each face/shoulder button belongs to a specific category. With Elective Mode active, you’re no longer forced to choose from a smaller selection of abilities when mapping each button. In addition to offering more flexibility in terms of how your controls are laid out, Elective also enables you to equip more than one power at a time from a single category.
Investing in your future
Diablo III is a massive game. One character alone carries the promise of hundreds of play hours, and you’ve got five character classes to choose from along with 10 available slots to fill in your player profile. It’s best to always keep the long game in your head, even when you are first starting out. Decide early on if you intend to simply build up a single character or work on more than one. Figure out which one(s) you want to play as. Having a rough gameplan helps because it allows you to better prepare for any future characters during your initial playthrough.There are three elements in Diablo III that carry across all characters in your player profile, and the first is money. Any gold you earn with one character is gold earned for all characters. By the time you start a second or third hero, you should have more than enough gold saved up to buy (or craft) some starting gear and give yourself a little early advantage.

On the subject of crafting (which we’ll detail further below), the training level of your two artisans (as well as the artisans themselves) also carries across your entire profile. As you progress through Diablo III‘s story for the first time, you’ll unlock two artisans: a blacksmith and a jeweler. Once you’ve gotten them, they’ll forevermore be a fixture in all of the hub locations that you visit. Each artisan can be trained for an increasingly steep price; the highest levels require multiple playthroughs at the Nightmare, Hell, and Inferno difficulties.
Finally, there’s your stash. In each hub location you’ll find a large treasure chest that you can stash useful items in. Think of it as a shared inventory that all characters in your profile are able to access. The total capacity of your stash can be upgraded for a hefty fee, and that upgrade applies to all your characters as well. Your stash is the main reason you’d want to go into the game with a sense of which characters you’d like to play. If you know you want to start as a Demon Hunter, but eventually branch out to a Barbarian and maybe a Monk as well, then it’s prudent to store the most useful loot that you find for those two classes.
Color coding is your friend
Diablo III‘s monsters and loot drops are both color-coded. Standard enemies sport simple red target circles at their feet, and their names appear above their health bar when they are targeted. Then there are three types of Elite enemies: Champions, identified by blue text on their names and a blue glow covering their bodies; Rares, identified by yellow text on their name and a yellow glow on their bodies; and Superuniques, identified by purple text on their names (their bodies also glow yellow). Champions and Rares can spawn basically anywhere, but Superuniques appear much more infrequently, and only in certain locations.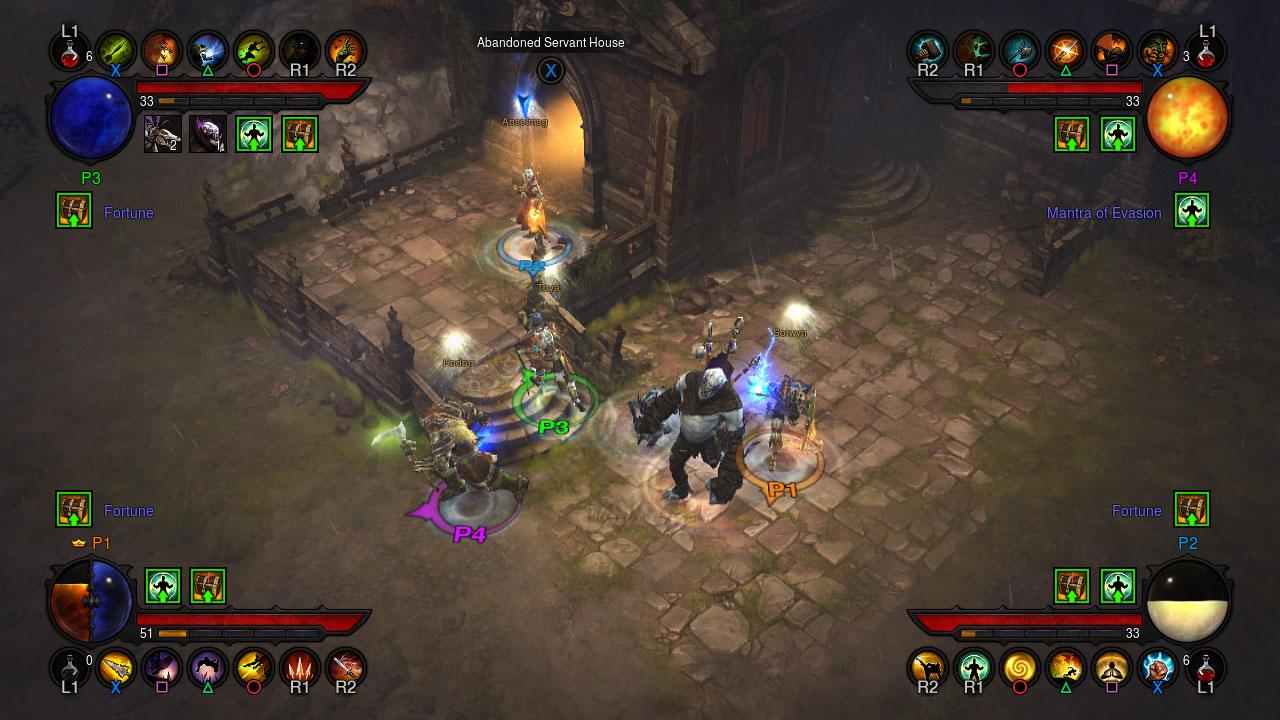
Loot is also helpfully color-coded. Grey and white item names are essentially junk; you might use them early on, but you’ll eventually reach a point where you’re simply selling these whenever you pick them up. You may even stop picking them up all together. Blue items are “Magical,” yellow items are “Rare,” and orange items are “Legendary.” As you equip higher-level items, you’ll see longer lists of buffs applied to your character when that item is equipped. It’s pretty simple, really.
You’ll always want to take a peek at what bonuses a piece of gear offers before you sell it or break it down into crafting parts, especially with Rare and Legendary items. On the subject of crafting, note as well that grey (broken) and white (normal) items don’t break down into anything. A good strategy, both in the early game and long-term, is to sell all of your grey/white gear and break down any Magical (or better) gear that you’re not using and don’t want to stash. Be flexible with that so you don’t leave yourself too short on gold, but the key takeaway here is that you should remember to build your stock of crafting materials in addition to growing your pile of gold.
Crafting basics
Crafting in Diablo III doesn’t become a big concern until around mid-game. Early on, you’ll want to focus on training your artisans as high as you can get them and building up a healthy supply of resources. Note that you can only train the blacksmith and the jeweler to a certain point on a “Normal” playthrough. The highest training levels require both gold and additional materials that can only be found on Nightmare and higher playthroughs. You’ll need to beat the game on Normal to unlock Nightmare, then on Nightmare to unlock Hell, then on Hell to unlock Inferno. Each successive playthrough is considerably more difficult, but on each one you’ll find powered up loot that is unique to that level of difficulty.
When you are ready for it, crafting is simple. For gear, each item requires a gold investment as well as a particular number of resources. Each level of gear breaks down into a different set of resources. It’s all color-coded blue and yellow, to help you differentiate; so you’ll need blue materials to craft Magic items and yellow ones to craft Rare.
Gems work a bit differently. Certain items that you find include sockets that you can slot magical gems into. There are four colors of gem, and the bonus that each provides varies according to both the color and the type of gear it’s being slotted into. So sticking a purple amethyst into a weapon’s open socket will restore health every time you land a successful hit, but slotting the same gem into a free socket on a pair of boots simply increases your vitality (the stat that governs health). For a price, your jeweler can remove gems from sockets, preserving both the gem and the item it was slotted into. The jeweler can also combine multiple gems of one type to create improved gems (i.e. two chipped gems become one flawed gem).
http://www.digitaltrends.com
By Adam Rosenberg
No comments:
Post a Comment